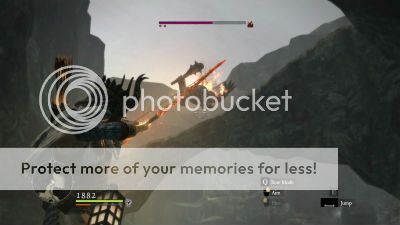
Near the Greatwall is a mini dungeon called Soulflayer Canyon which serves as a "not so shortcut" back across the map and is home to lots of ugly critters. While traversing it, Barnaby is once again put to sleep by snow harpies and this time since they also manage to ice me and have the rest of the team dealing with goblins one of them picks up the sleeping fool and spirits him away. Presumably to make baby harpies, followed by Barnaby steak. We never see him again.
Easiest cyclops kill in here!
We then journey far past a windy valley that doubles as a bandit camp and encounter our first golem! Again, good idea for this creature - powered by magic immune disks that serve as its weak spots. You can't pick and choose though, you need to get them all - and with one in the palm of its hand and another in the base of a foot it proves to be a good challenge. Eventually we reach the crumbling Bluemoon Tower we had seen all the way from the other end of the bay at Cassardis. I love the draw distance in this game.
If you are wondering why the heck I'm going to these places it's simply to place Port Crystals (as I mentioned to Coppertopper in the comments previously) so that I can just warp back to them later. It's certainly pretty handy for the cascade of hunting quests I've been assigned. Everything from rats to Death. Yes, there is a quest to kill Death and while I know where to find him I don't see how the heck I'm meant to do that one.

No comments:
Post a Comment