Now that you've gotten the bulk of the war out of the way and have stopped the (not so prevalent now) elf / giant conflict with a hand drawn picture in
the previous part, it's time for the last push against the shadow bastards and put an end to their plans.
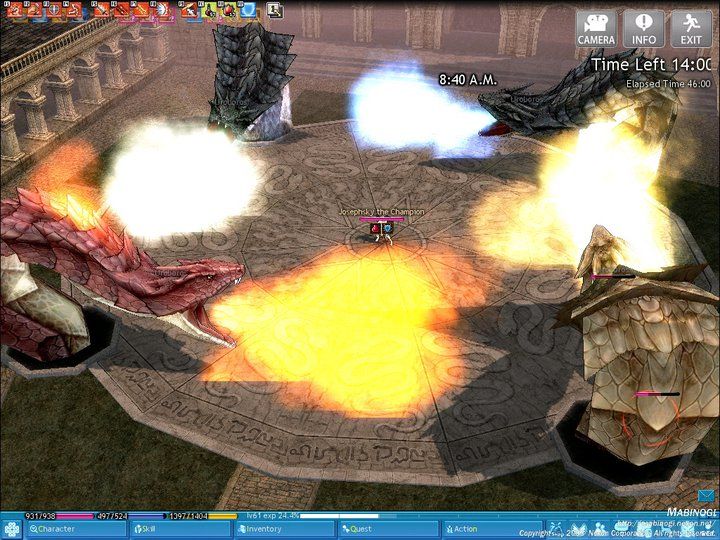
Scouting Mission (best bring party)This mission features the return of Glas through random encounter, but this time he doesn't summon gargoyles - he summons crag cows. The alchemist method of beating him is to wind blast a cow 3 times so it gets confused and attacks Glas. The non stupid method of beating him pretty much just revolves around using trans and then Final Hit the fool. If you prefer you can lure him out with ranged attacks first. Crash shot will also hurt him badly when he's surrounded by the cows. He still regenerates quick and will have a ton more HP this time around so you want high damage or wounding strikes.
After he's done a named alchemist will show up and while he can also summon golems and invert your screen, if you've just beaten the big four armed monster there's not a lot this idiot can do to you.
Damsel in Distress (fastest solo)Your first mission where you can bring a Royal Alchemist if you so choose (and if you know any that are free), but I think you should be able to handle this solo. The mission says to protect Jenna. This is BS. She can protect herself just fine against melee-ers. You keep -yourself- alive and kill any archers as soon as they show up. If you've cleared your sector -then- you can go help Jenna until the next wave arrives.
Alone in the Barri (solo based on level)Whew, suddenly you get a normal dungeon. Makes you suddenly appreciate those goddess statues huh? Anyway this place will be geared to your level and if you are on a difficulty of advanced or below you would have already encountered everything in here in prior Generation quests. If you are on Hard, then there are a few new things but then again if you are on Hard you've prolly already fought them? :P In case you haven't, they all multi-aggro and are:
Chon ChonAn ugly magic-using bird. Treat as a strong sprite. Weak to magic. Resistant to melee and range so big hits only if you're going that way.
Goblin Hunter/ArcherSturdier goblins that can poison you. No passive defenses mean you can kill them however you like, though a high ranked windmill or final hit is probably the fastest way to take them out.
Spiked wormDangerous and highly resilient to all forms of attack. Treat as a heavily armored snake. The wiki advises fire bolt-counter. Being a non-mage I either bow them or smash-windmill.
Lost SahaginAre quite blind and have a small aggro range. However if you hurt him to less than half HP, he triggers his self-destruct - giving you mere moments to run away. Killing him outright also makes him explode so they are best dealt with using range or magic. The blast is strong enough to kill or seriously injure anything nearby (1/3rd dungeon room) and if there are many of them this could lead to a chain reaction.
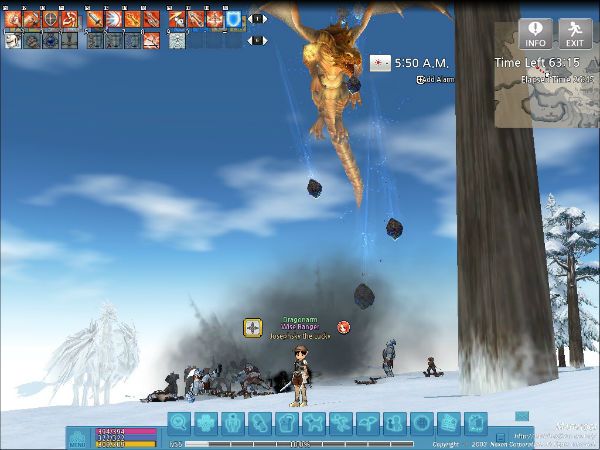
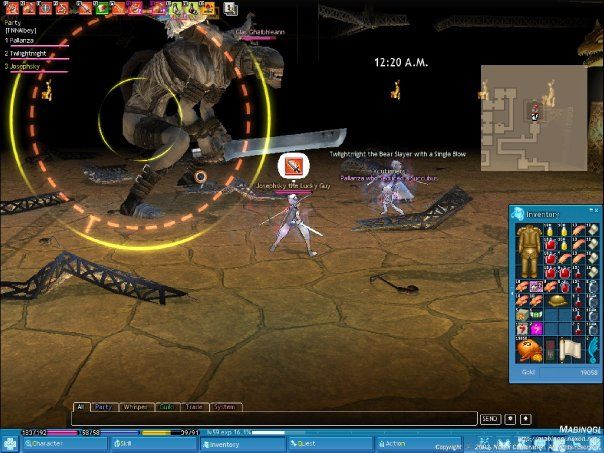
Last Battle (full team recommended)The allied army has now decided to attack the shadow realm in force! Your task is to make sure not a single one of them dies in the 15 minute blood bath about to follow. Strongly recommend a full team to handle the many waves of enemies that show up, as it is unlikely that you will be able to heal your compatriots between waves. Target the enemy golems first as their windmill can do a lot of damage in a wide area and try stagger your trans-times between your party so that 1 or 2 of you are beefed up at any given point. Always try pick up downed players when you are able to though.
Finale (full team recommended)Usually the same team that helped with the Last Battle will want the XPs from this one so bring them in with you. Now that you don't have dorky NPCs to protect the fights should be a lot easier, and even the named shadow commander will suddenly be curb-stomped since there are more of you. Fight your way into town past numerous cutscenes and eventually you get to the big boss of this story arc.
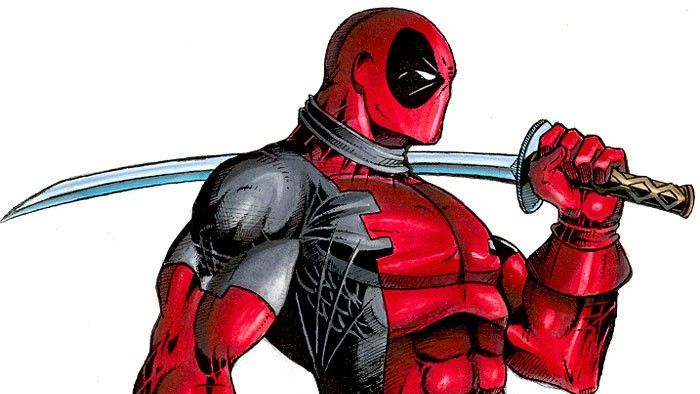
Boss Fight!
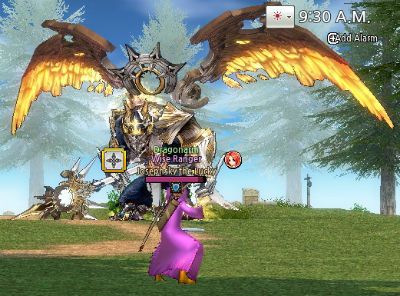
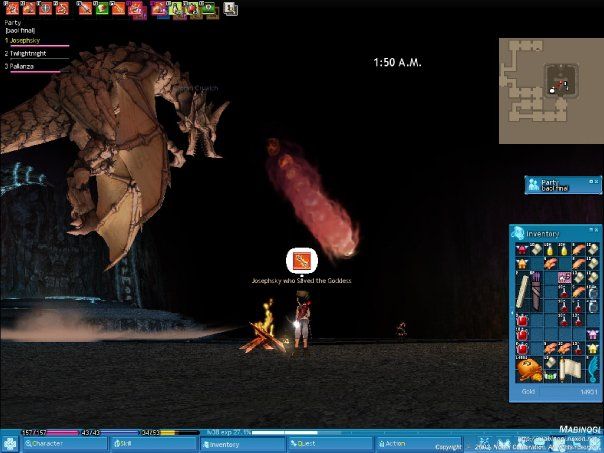
OMG it's Deadpool!Well, half of a giant version of him. He has life drain, a big stomp attack, a fast moving rush, and later giant flying swords all of which can easily kill those in range. He's got pretty high protection too so the best attacks are either from far with a high crit bow, or upclose using smash and windmill. He gets angrier at half HP, and at 1/3rd (the roof is opened) someone -has- to call Adniel for help or everything will do 1 point of damage. As usual, mana shield and many pots can keep you alive during this battle. I shouldn't need to remind you to use your trans by now. Winning gives you a groovy title, and a less groovy enchant for your shoes. :p
Pierrick's Violet Grave A small side quest that you can do. Only dangerous part is wandering into Fiodh solo. You would have already fought everything here in previous generations though and have definitely defeated worse monsters so it should be a cake walk. A long cake walk.
Reminiscing with AndrasAnother small side quest that opens after finishing the main Generation 9 arc. Two potential problem spots here, the first being Longa Emerald dungeon which (unless you are an elf) you may not have run yet before. Baddies spawn in big quantities here but they are individually weak. Things you'll encounter are:
Stone Masks - Treat like goblins that have magic.
Armored Hounds - Good old Wolf AI. They sound like a dude going "UHHH" when you knock them down though.
Pythons - Maybe big, but still just snakes.
Beetles - Similar to the Giant Dragonfly earlier. These Low HP flying bugs come in droves and some can windmill, so windmill THEM first!
Emerald Golem - Your main problem. This boss will only take big damage from Emerald Arrows that you get from running Longa normal. Still defeatable if you and your team just wail on him enough but expect to take a few hits because he won't go down so easy without a properly armed archer.
The 2nd problem spot which is an RP quest as Andras through a FULL Rabbie dungeon. She excels at magic so you may want to stick to that like you did with Tarlach during his run.
The Ending QuestionIf you say that today is important you'll get the Tailltean Two-hander. If you say that the past is more important you'll get Andras' Bow. Both are decent weapons so it just depends on what you want.